Baking Essentials
Set yourself up for success by stocking your kitchen with all the baking essentials you'll need to make your dream cookies.
Helpful Tips
- Dip cookie cutters in flour before each cut to help the dough release more easily from the cookie cutter.
- Place a foil-covered baking sheet under the cooling rack to catch any icing drips or excess decorations.
- Close any gaps in icing by using a toothpick.
- Cookies can be kept for about a week in an airtight container.
- See our tips for shipping cookies to loved ones.
Utensils
- Electric mixer
- Large bowl
- Rolling pin
- Cookie cutters
- Toothpick
- Wire cooling rack
- Individual bowls for coloring icing
- Optional: pastry bag with fine tip
Cookie Recipes
View All RecipesWhether you're making one batch of cookies or a variety, you'll find festive options for every preference in our recipe library.
Perfect Sugar Cookies
Starting with a simple sugar cookie or spiced sugar cookie recipe, we’ll show you how to create edible works of art that are as fun for your family to make as they are to eat!
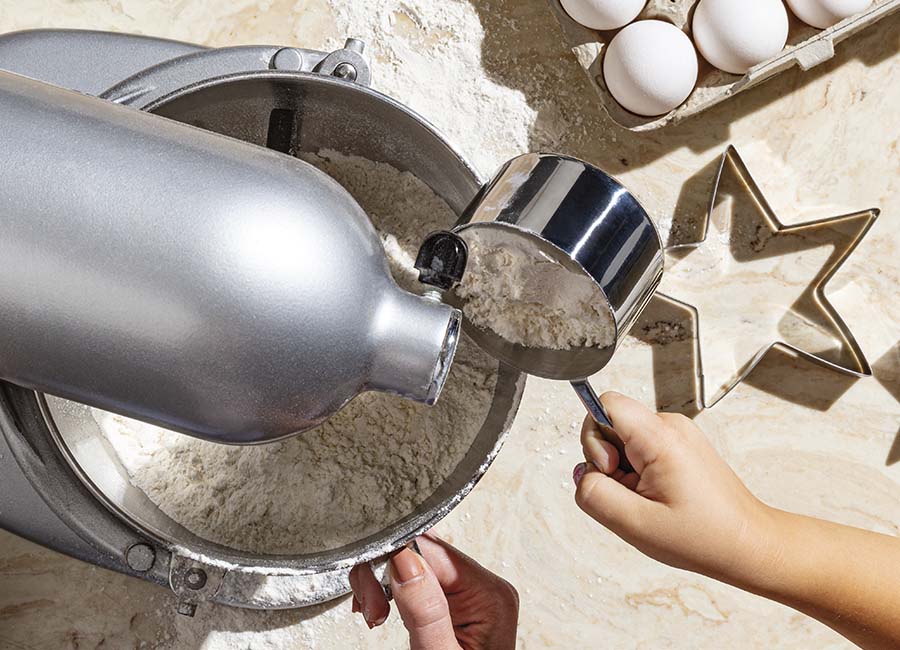
Step 1
Sift 3¾ cups powdered sugar and 3½ tablespoons meringue powder into the bowl of a stand mixer fitted with a paddle attachment. Mix on the lowest setting for 1 minute. Add 6 tablespoons warm water then 2 tablespoons light corn syrup. Increase speed to medium and continue to mix 5–6 minutes or until soft, glossy peaks form. If icing is too stiff, add 1–2 more tablespoons warm water and mix.
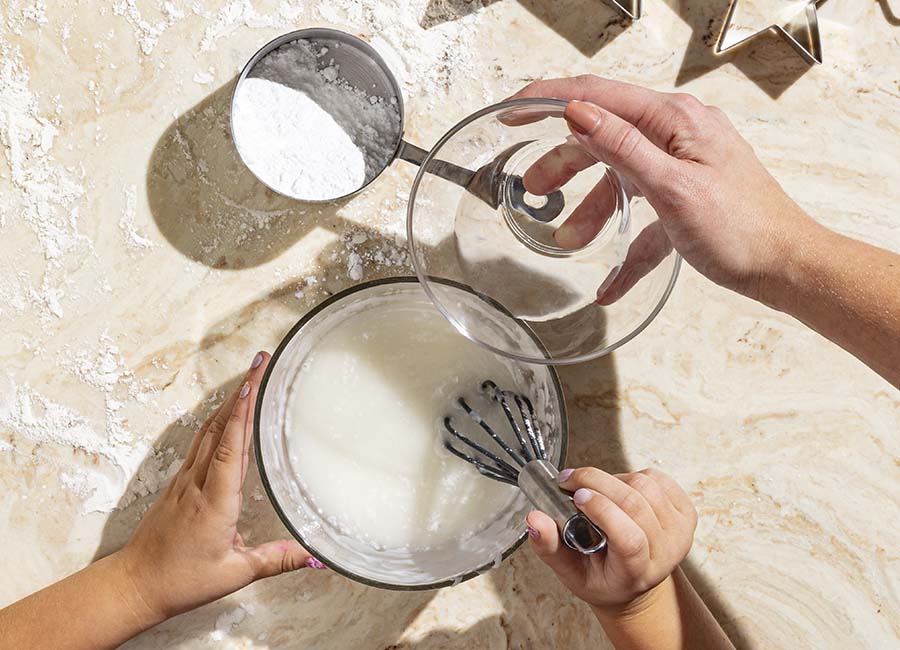
Step 2
Remove bowl from mixer and—using a rubber spatula—stir in warm water, 1 teaspoon at a time, until icing reaches the proper consistency. To test, pick up some icing with your spatula and drop it back into the bowl. It should take 15-20 seconds to sink back into the bowl and for the surface of the icing to smooth back out. Let icing sit 20–30 minutes. Pop any bubbles that have formed on the surface with a toothpick.
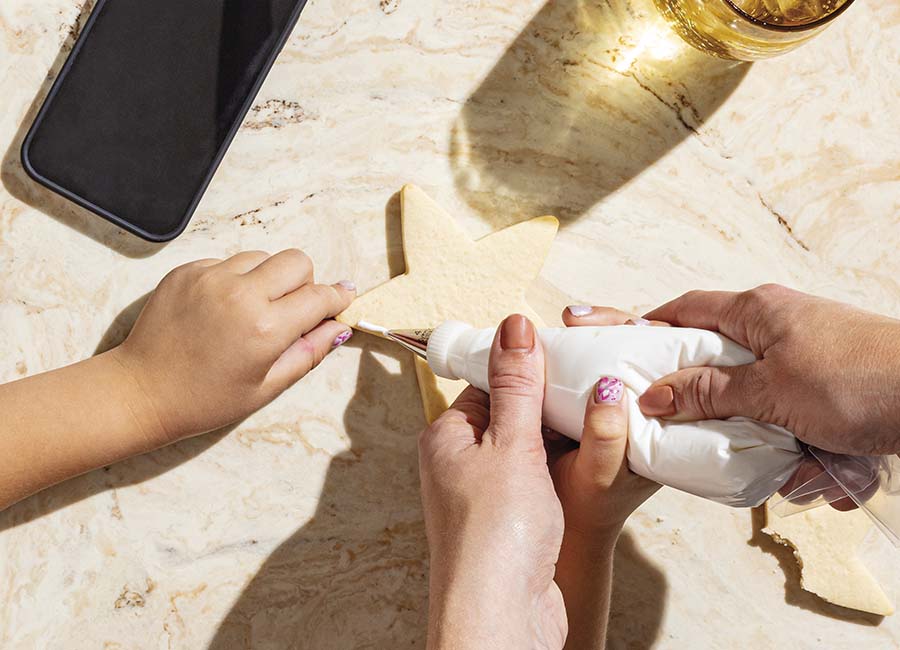
Step 3
Transfer icing to a piping bag fitted with a coupler and a small, round tip. If there is icing left over in the bowl, cover with a damp paper towel and plastic wrap until ready to use to keep it from drying out. Outline the cookies with icing by piping a thin border along the edges. Let set for a few minutes.
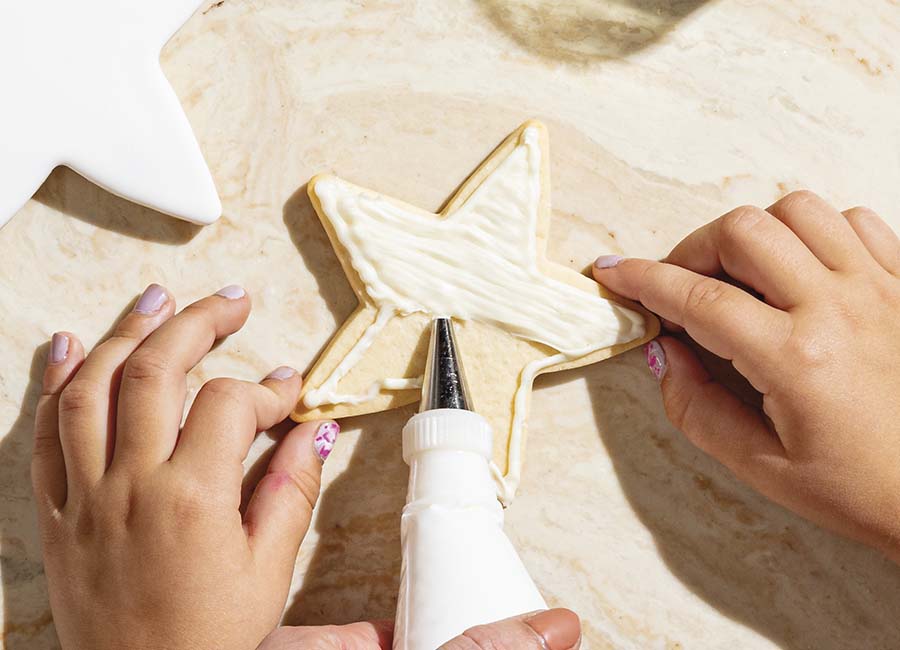
Step 4
After cookies have been outlined, flood completely by filling with icing. If necessary, use a toothpick to help pull the frosting to the edges (and pop any air bubbles). Transfer finished cookies to paper towels and allow to set for at least 12 hours or overnight. Make sure icing is completely dry before moving onto the next step.
Step 5
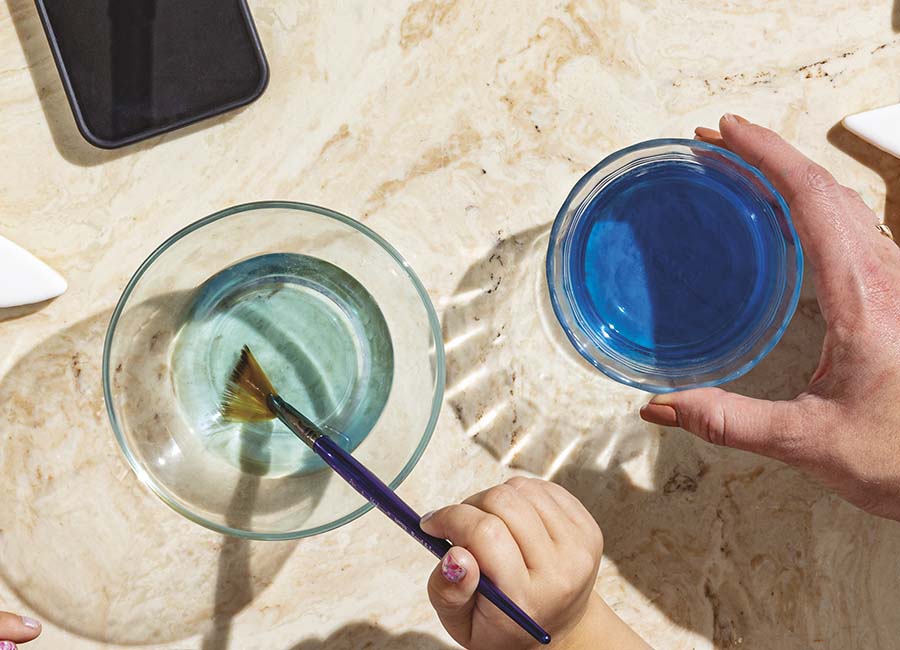
Cover workspace with newspaper or paper towels. Gather several small bowls and some food-safe paint brushes. Add a little clear extract of choice (such as vanilla, almond or lemon) to one of the bowls and set aside. Make different shades of “paint” by dividing varying amounts of gel food coloring among several bowls; mix each with a few drops of the extract to thin out. For a darker hue, use more food coloring (and vice-versa).
Step 6
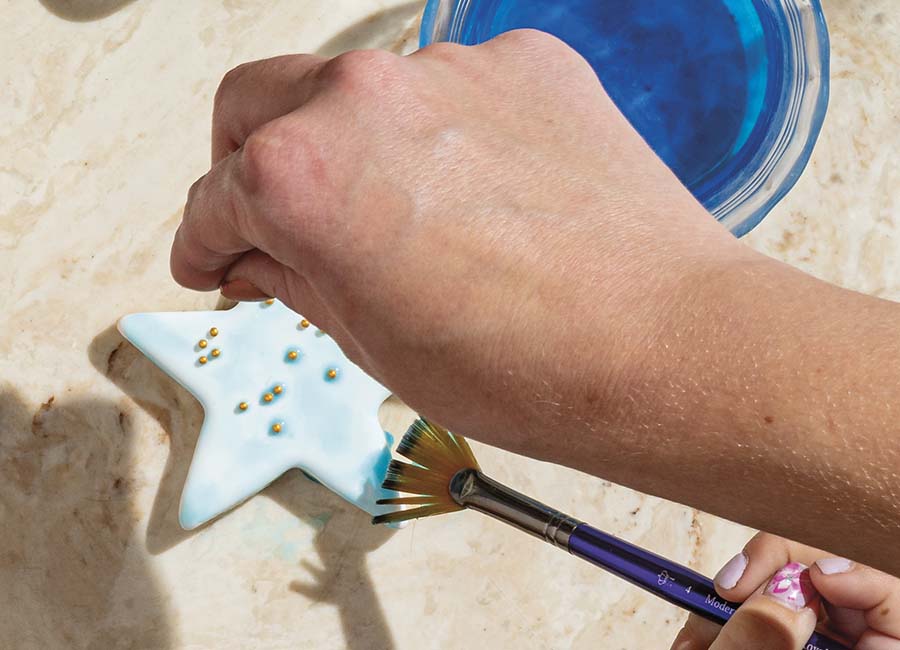
Paint colors onto the iced cookies in any pattern you’d like; overlapping, alternating shades and thinning with clear extract as desired. For a speckled design, add some “paint” or extract to your brush and tap the handle to flick spots onto cookies. If desired, add finishing touches by decorating with sprinkles, sanding sugar, edible glitter, food paint, etc. while the cookies are still wet. Let dry at least 2 hours.
Sprinkles can also be applied once paint has dried. Using any leftover icing, simply pipe small dots onto cookies to adhere.

Discover Your New Favorite Holiday Dessert
There's always room for one more dish on the dessert menu! Find recipes for everything from cookies to cakes to pies in our holiday recipe library.
Christmas Guide
Christmas is celebrated in as many different ways as there are reindeer on Santa's sleigh. No matter how your family celebrates, chances are there's food involved! Use our recipes, tips and resources to make your holiday a little brighter (and a little more delicious) this year.

