5 Steps to Become a Grillmaster
Ready to start firing up the grill this summer? When you follow these five steps, you’ll set yourself (and your grill) up to save time and any potential headaches. By the time you’re done, you’ll be a certified grill master!

1. A Clean Start
Preheat your grill to high or light charcoal and wait for the coals to be covered with white ash. Once grate is hot, scrub with a grill brush until clean. No grill brush? No problem! A ball of aluminum foil pinched between tongs will do the trick! After cleaning, set up your grill for two-zone cooking.
2. Prep Your Protein
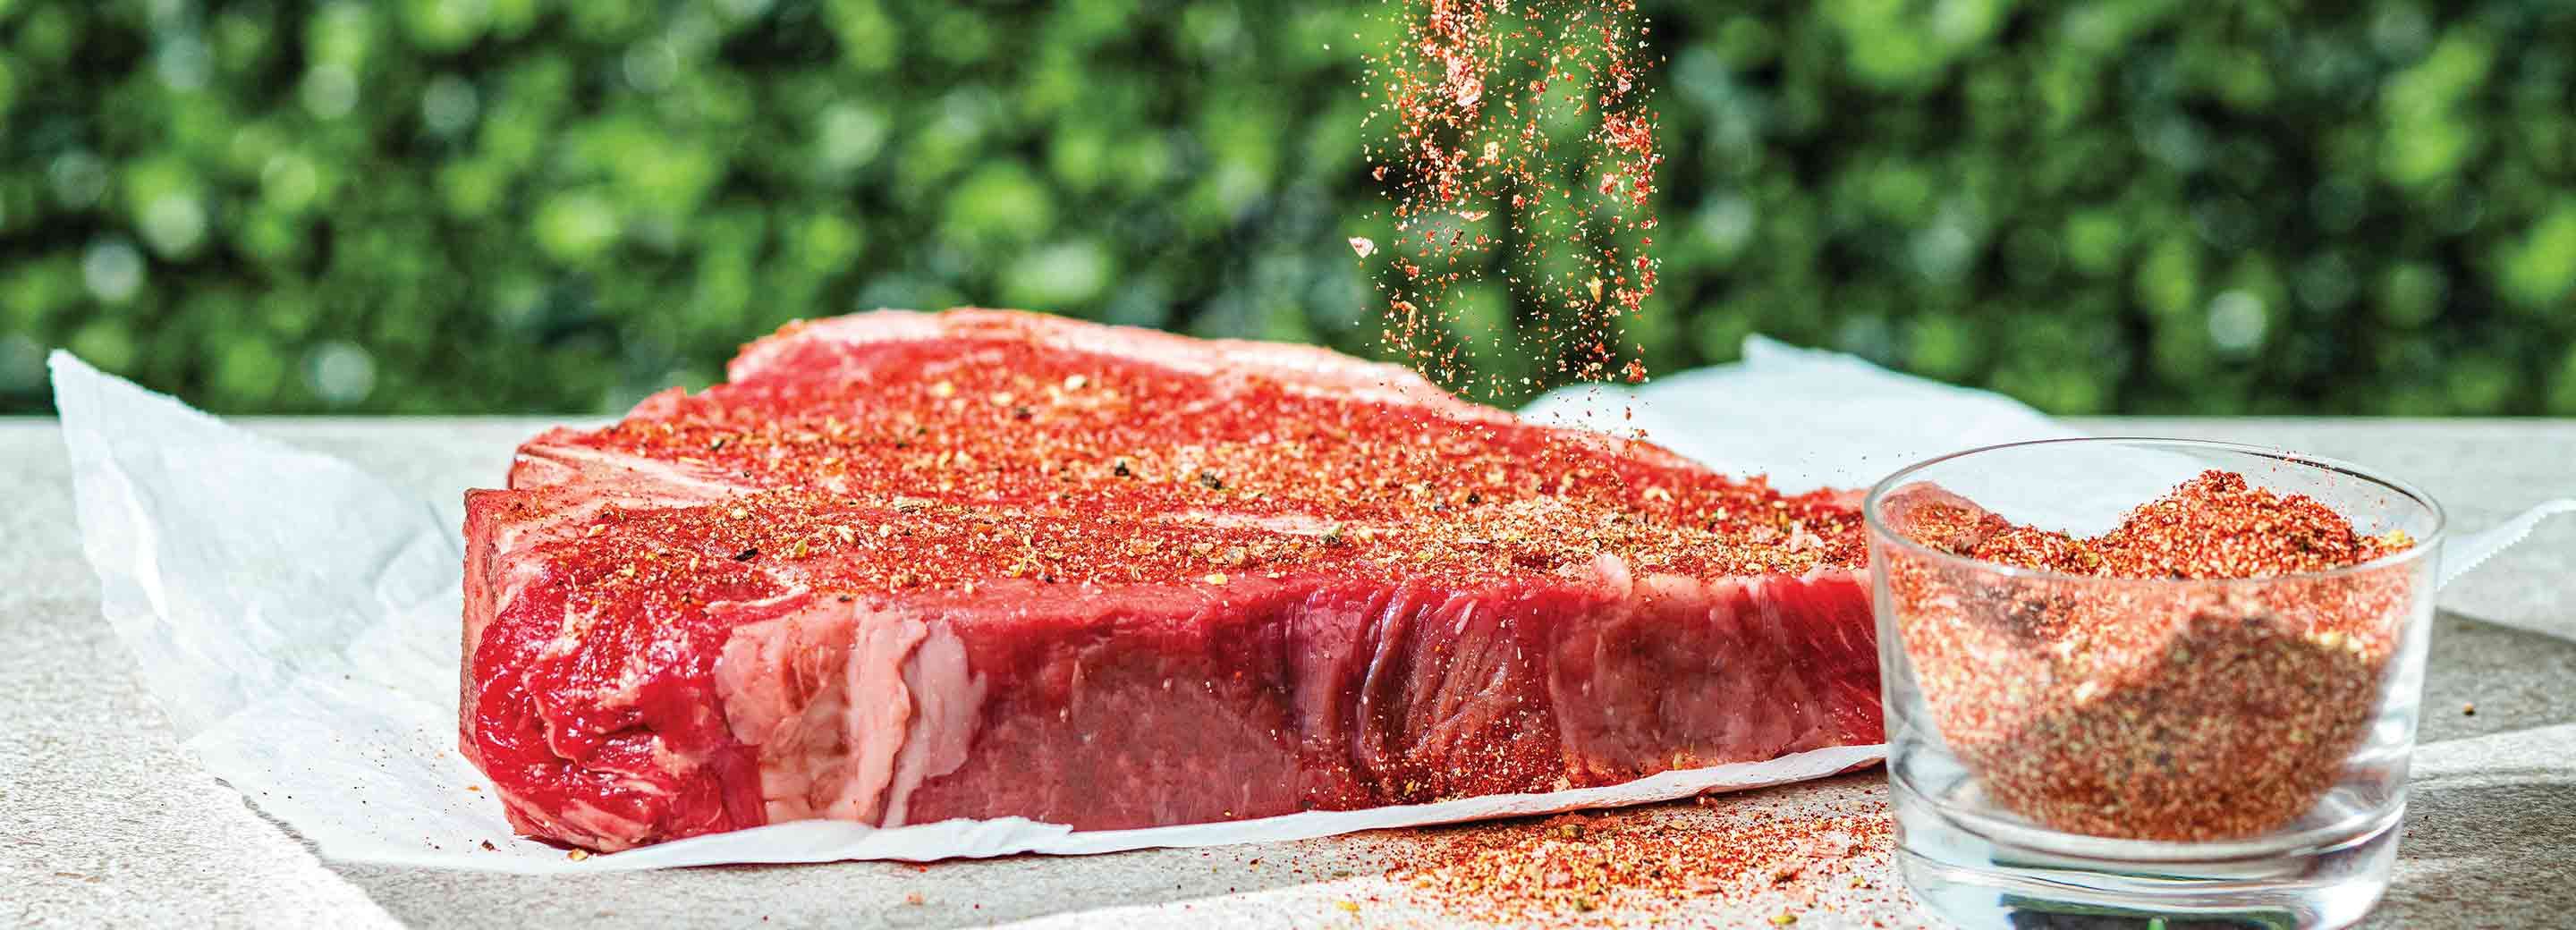
Remove your meat from the refrigerator and allow it to reach room temperature while the grill is preheating. The timing will vary depending on the thickness of the cut. Before cooking, pat the meat dry with a paper towel and season it as desired.
3. Lid On Or Off?
The grill’s lid allows food to be heated from all sides (like an oven). You can grill uncovered while preparing quick-cooking foods. For thicker cuts of meat, sear with the lid off, then cover to bring food to the right temperature. Leave the bottom vents fully open and use the top vents to adjust the temperature.
4. Prevent Flare Ups
While leaping flames in the grill may look cool, they are not ideal for your food. Reduce flare-ups by trimming meat of excess fat, keeping the grate clean and avoiding windy areas. If you do experience a burst of flames, move your food to indirect heat and wait for them to die down.
5. Let It Be
Resist the urge to press down on food while it’s cooking. That will cause juices—and flavor—to escape. If you are making a smash burger, you can press down as soon as the beef touches the surface—but that’s it! Finally, let all meat rest 5-10 minutes after taking it off the grill to ensure it’s as juicy as possible.